White Bite: An Experiment in Teeth Whitening (REVIEW & CONTEST)


I'm a self-professed oenophile.
As such, I often enjoy a glass of wine (or two) with my meals. And while I like white wines my preference still lies with red - in particular deep, rich, velvety and smooth Bordeaux wines.
The only first-world problem that comes with that preference however, is that the wines end up staining my teeth. Pile on coffee stains from my multiple lattes during the day and I'm starting to resemble someone from the cast of Oliver.
So off I went to grab my laptop to explore what my options were. Giving up wine and coffee was not an option. Nope. So it looked like teeth whitening products were my best bet. But which one? Selecting the right product was much harder than I expected as there are so many products on the market. Over the years, I've tried everything from Crest White Strips (including the professional grade), whitening gel that you paint on, whitening toothpaste and even whitening gum.
Smile Brilliant, a company out of St. Louis, MI, contacted me - not knowing that I was conducting this search - to introduce themselves. The timing couldn't have been more perfect. I explained to them what I was looking for and we decided that I would try their largest kit for sensitive teeth (T9). This kit offers the best value for deeply stained teeth. For those who drink coffee, tea, or wine regularly - aka, moi. It’s suitable even if you are a smoker or have had stains from childhood medication. This system is best for those who have heightened tooth sensitivity which will require more sessions (over a shorter duration). The kit contains everything you need to get custom-fitted trays and 27 applications (top and bottom).

Creating the Custom Dental Trays

I first had to create the custom-fitted dental trays that would hold the whitening gel. Smile Brilliant provides you with everything required to make these trays plus a set of easy-to-follow instructions. There are three sets of impression material provided (similar to Play Doh in texture); one for each upper and lower set of teeth, plus an extra set in case you mess up.
After preparing the impression material and applying it deeply into my upper and lower sets teeth - making the "impressions" - I cooled them off under cold water and placed them into the envelope provided. I sent the package back to the Smile Brilliant lab, where I would then receive my custom fitted trays a few weeks later. Learn more about these trays.
Application of Whitening Gel
After waiting a few weeks for my custom dental trays, I was getting quite excited and almost impatient. I wanted to start right away as this was the fun part.
Once I got my trays, the procedure was actually quite simple. Smile Brilliant provides their Whitening Gel in plastic syringes, making it very simple to administer the gel. You simply apply a thin strand of the gel along the bottom of each tray and then affix the trays on your teeth.
The only issue I had was the sensitivity of my gums to the Whitening Gel. I made the mistake of applying too much gel initially in the tray. Ideally you're supposed to only place enough to cover your teeth. But I applied so much that it was nearly spilling out beyond my gums and they got fairly irritated and sensitive. It took a few tries to minimize the amount of sensitivity but once I nailed it, the rest of the process was fine. But because I significantly reduced the amount of Whitening Gel that was applied, it took much longer to show results. If you have sensitive teeth or gums like I do, read up on how you can prevent any issues. Also, learn more about what's actually in the whitening gel.

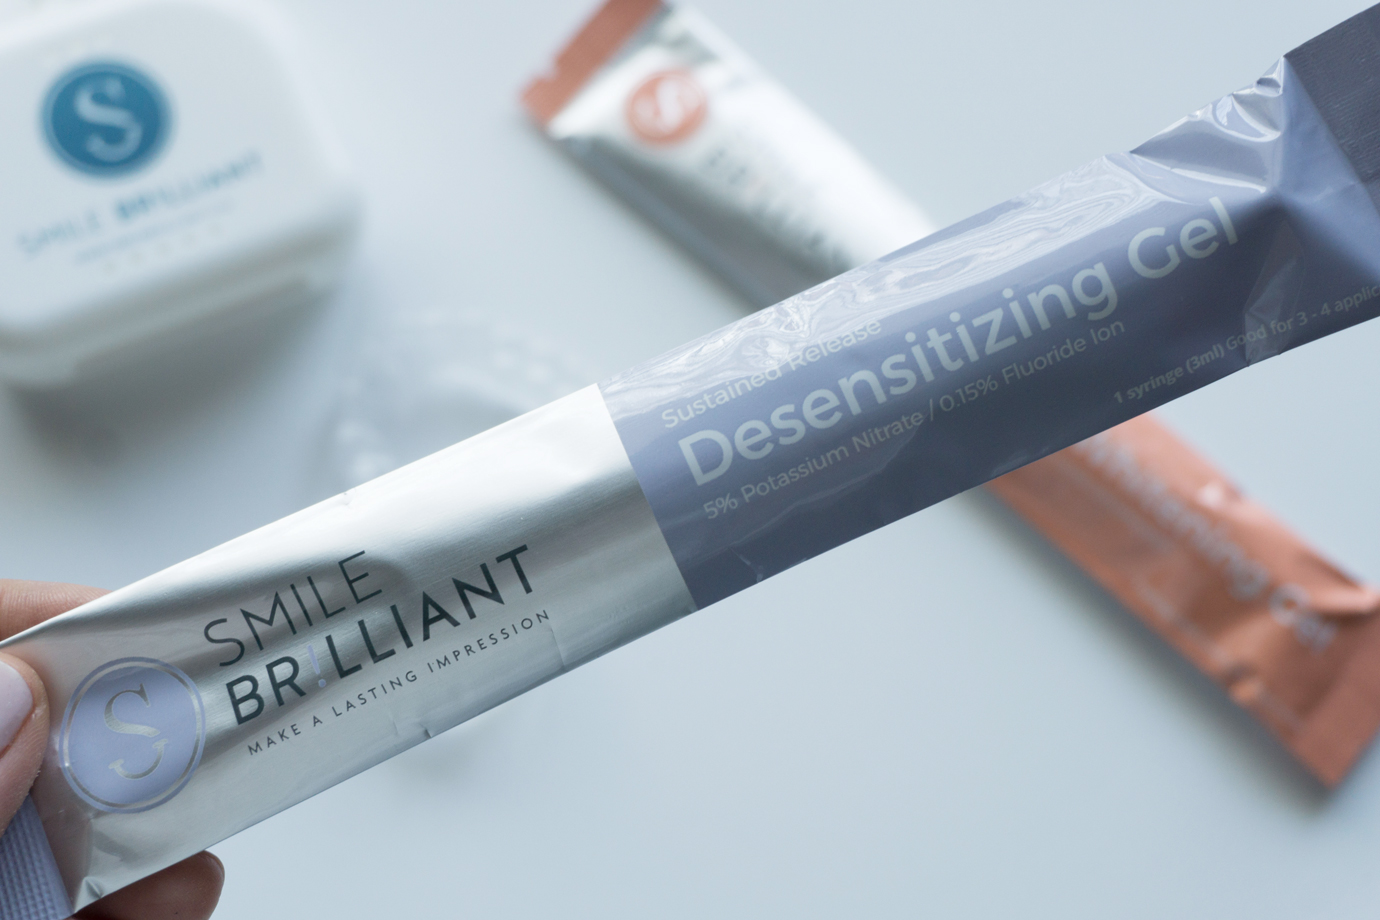
Application of Desensitizing Gel
So the final step in the process is to apply a desensitizing gel to the teeth. The gel is also delivered via plastic syringe and applied the same way onto the custom dental trays. This part of the process is easy and I felt no sensitivity from the gel.
Results
After three weeks of use, there was definitely a noticeable difference - my teeth were whiter. The only thing I wish I had avoided though were coffee and wine. You're technically not advised to consume such deeply staining drinks but I couldn't imagine going three weeks without it. So I'm almost certain that my results would be even more dramatic had I followed the rules to a tee.
Would I recommend Smile Brilliant? Yes, but just be judicious with how much of the Whitening Gel you apply initially. Start in small strands and then go for more if your gums aren't reacting too strongly. The process is really simple and I liked how straightforward the instructions were, especially for creating your custom dental trays. Definitely a cheaper method to whiten your teeth and get pretty good results without going to the dentist.

Before

After
ENTER TO WIN!
Want to try it for yourself? I'm giving away a $139 Smile Brilliant credit to be used for your own kit. Enter via this link: https://www.smilebrilliant.com/g/thevancouveriteblog
The winner will be selected and contacted via email in two weeks. The contest is open to residents in the US, UK, Canada and Australia.
Good luck!
DON'T WANT TO WAIT?
Try the kit now with a 10% discount code 'thevancouveriteblog'